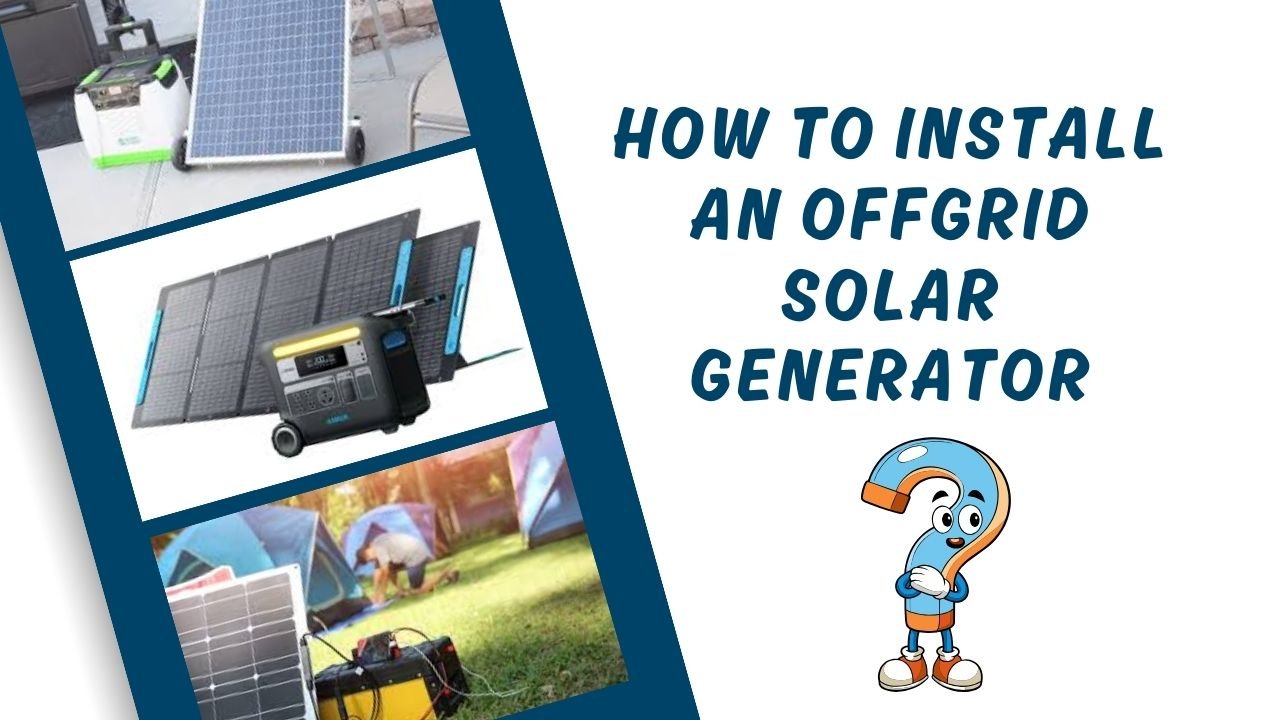
How to Install an Offgrid Solar Generator is a rewarding project that offers energy independence and sustainability. This guide outlines step-by-step instructions to successfully install your own offgrid solar system.
Table of Contents
Planning and Preparation
Assess Your Energy Needs
Before starting, calculate your energy requirements to determine the size of the solar system needed.
Choose a Suitable Location
Select a site with maximum sun exposure throughout the day and minimal shading from trees or buildings.
Obtain Necessary Permits
Check local regulations and obtain permits for solar panel installation and electrical work if required.
Components and Tools Needed
Essential Components
- Solar panels
- Charge controller
- Battery bank
- Power inverter
- Mounting hardware
- Wiring and connectors
Tools Required
- Drill and screwdriver
- Wrenches and pliers
- Ladder or scaffolding
- Electrical tester
- Safety equipment (gloves, goggles)
Installation Steps

Step 1: Install Solar Panels
- Mounting Preparation: Attach mounting brackets to the roof or ground mounts using appropriate hardware.
- Panel Installation: Secure solar panels to the mounting brackets using bolts and ensure they are angled correctly for optimal sun exposure.
- Wiring Connections: Connect solar panels in series or parallel as per system design, ensuring positive and negative terminals match correctly.
Step 2: Install Charge Controller
- Mounting: Fix the charge controller near the battery bank using screws or mounting brackets.
- Wiring: Connect the solar panel array to the charge controller, ensuring correct polarity and secure connections.
Step 3: Install Battery Bank
- Placement: Position the battery bank in a well-ventilated area, close to the charge controller.
- Wiring: Connect batteries in series or parallel as per system voltage requirements, using insulated cables and fuses for safety.
Step 4: Install Power Inverter
- Mounting: Secure the power inverter to a stable surface near the battery bank, allowing for adequate airflow.
- Wiring: Connect the inverter to the battery bank using appropriate gauge cables, ensuring proper polarity and using fuses or circuit breakers.
Step 5: Connect System Components
- DC Connections: Use insulated cables to connect the charge controller to the battery bank and solar panels.
- AC Connections: Connect the power inverter to the electrical panel or appliances, ensuring proper grounding and protection.
Step 6: Test and Commission
- System Check: Verify all connections are secure and correct using an electrical tester or multimeter.
- Initial Testing: Power on the system gradually and check for proper operation of inverters and charge controllers.
Step 7: Perform Maintenance Checks
- Regular Inspections: Schedule routine checks for panel cleanliness, battery health, and inverter operation to ensure optimal performance.
- Safety Precautions: Follow safety guidelines for maintenance and avoid contact with live wires or components.
Final Though How to Install an Offgrid Solar Generator
Installing an offgrid solar generator requires careful planning, proper equipment, and adherence to safety guidelines. By following these steps, you can create a reliable renewable energy source for your home or remote location.


